
The setting line transforms dried veneer into panels ready for the assembly press. It repairs face and back grades, joins narrow core strips into full sheets, and clips and scarfs core plies to precise press-ready dimensions.
Product Overview
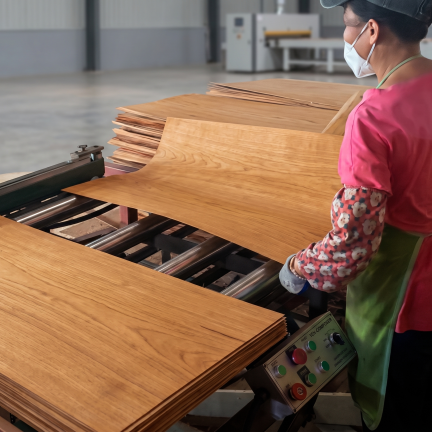
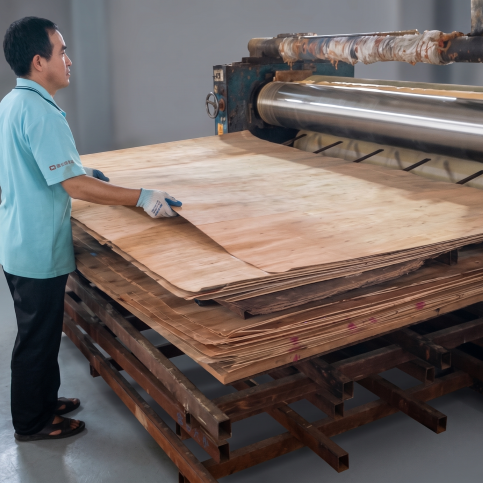
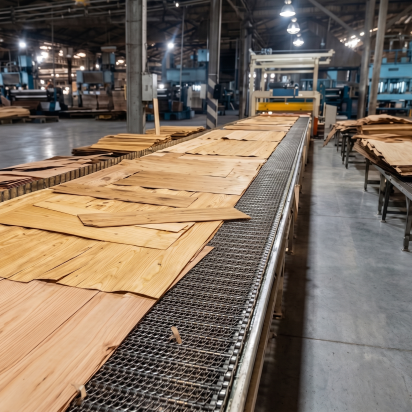
Veneer coming off the dryer still has a long way to go before it reaches the assembly press. Face and back sheets often arrive with surface defects: knot holes, splits, and resin pockets that quietly pull down the panel's grade if nothing is done about them. Core veneer comes off the peeling lathe as narrow strips of varying width, and those strips need to be joined edge-to-edge into full-width sheets before they can serve as a core ply. The setting line is where both problems get solved. It repairs face veneer, fills surface defects with putty, joins core strips into sheets, clips those sheets to the right panel length, and scarfs the edges so adjacent plies overlap cleanly in the finished construction.
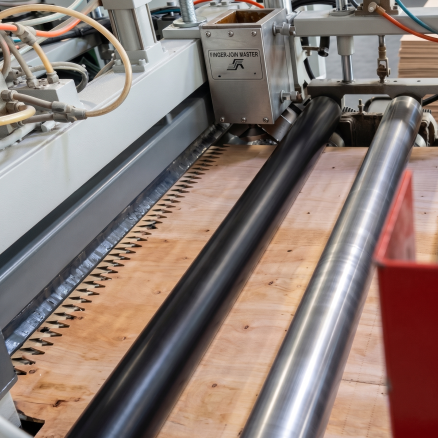
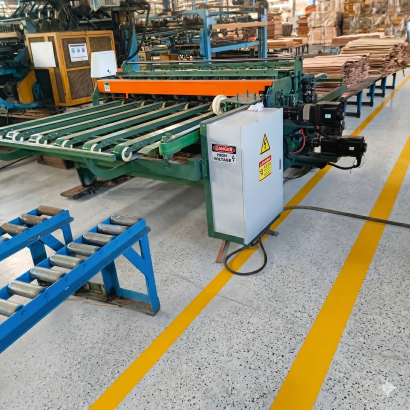
Five machine types make up the setting line, each handling a specific job. The patching machine punches out defects and presses in clean veneer plugs, bringing the face and back sheets up to a higher effective grade. The putty line follows by filling fine cracks and surface checks with wood putty compound, completing the surface preparation before the panel moves forward. The jointing machine brings core strips together using one of three profile technologies: finger, zigzag, or butt jointing, chosen based on the joint strength needed and the speed the line is running at. The short core clipper then cross-cuts the jointed sheets to the exact panel length for the target plywood size. Finally, the scarfing machine mills a tapered bevel on the sheet edges so adjacent plies can overlap without a blunt butt joint showing through the finished panel cross-section.
How the setting line is configured depends on what the mill is actually producing. A mill focused on face-grade decorative plywood needs full patching and putty capacity to meet surface quality standards. A structural grade mill running mainly core preparation can put its resources into jointing speed and clipper throughput instead. The machines are available as a complete integrated line or as individual units that slot alongside equipment the mill already has.
System Architecture
Dried veneer flows through five sequential preparation stages before entering the assembly press. Click any stage or machine to highlight its role in the line.
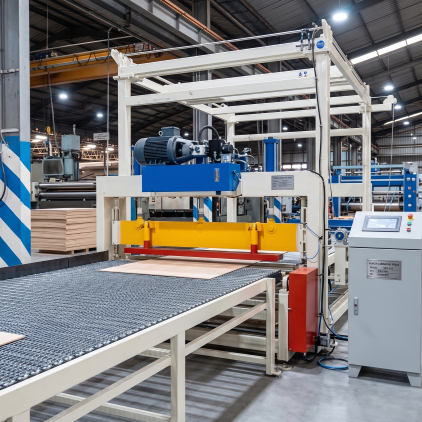
Live Demonstration
Watch the veneer setting line running in a live plywood mill — patching, jointing, clipping, and scarfing operations at full production speed.
Get In Touch
Our engineering team will review your veneer grades, panel size range, and production volume to recommend the right combination of machines for your setting line within 1 business day.